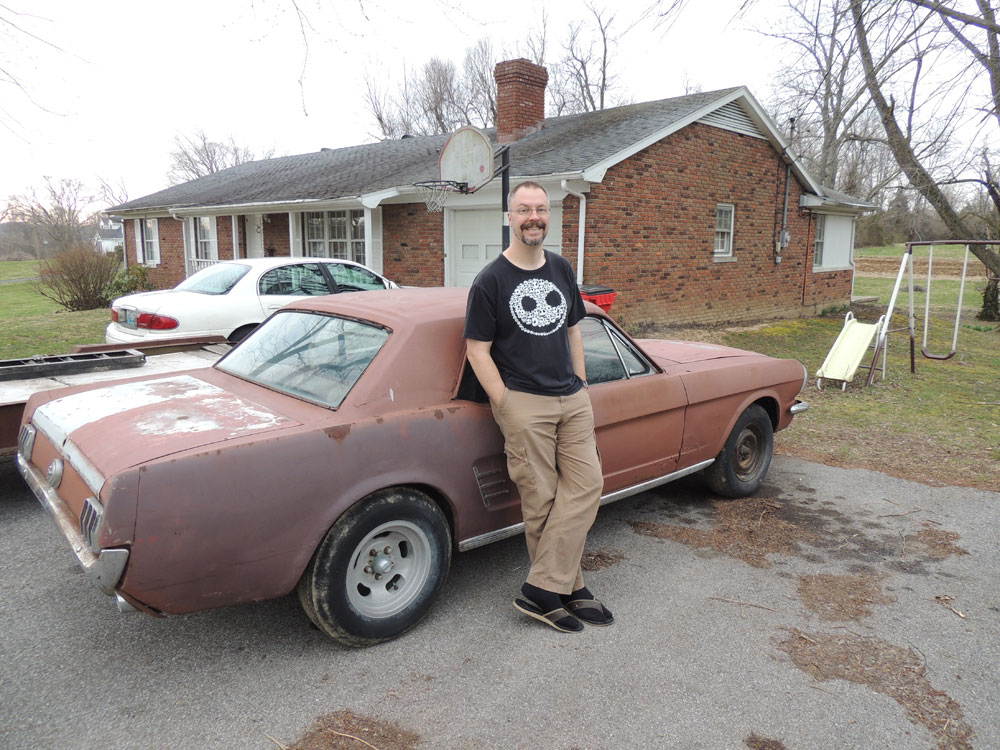
And it runs!
Reply
Pulling the oil pan sounds straightforward enough. It’s not. Not one of the bolts were rusted in place, which was a nice surprise, and probably related to the fact that they’re only tightened to about 5lbs. Two of them are, however, seated above the starter, so that has to come off, or at least be loosened as well. Here’s a hint. When removing the lower bolt on the starter, don’t use a ratcheting wrench. It seems like a good idea, until you realize that the bolt is long enough that the wrench gets boxed in place.

Luckily that won’t happen until the starter is loose enough to let you access the oil pan bolts and move on. Well, sort of. You also have to remove the idler arm to get the oil pan off. I picked up a joint separator for $9.99 at Advance, and hit the joint for just a second with a blow torch and a little Liquid Wrench, and it popped right apart.
Plenty of wiggling freed the oil pan, which rewarded me with this view:
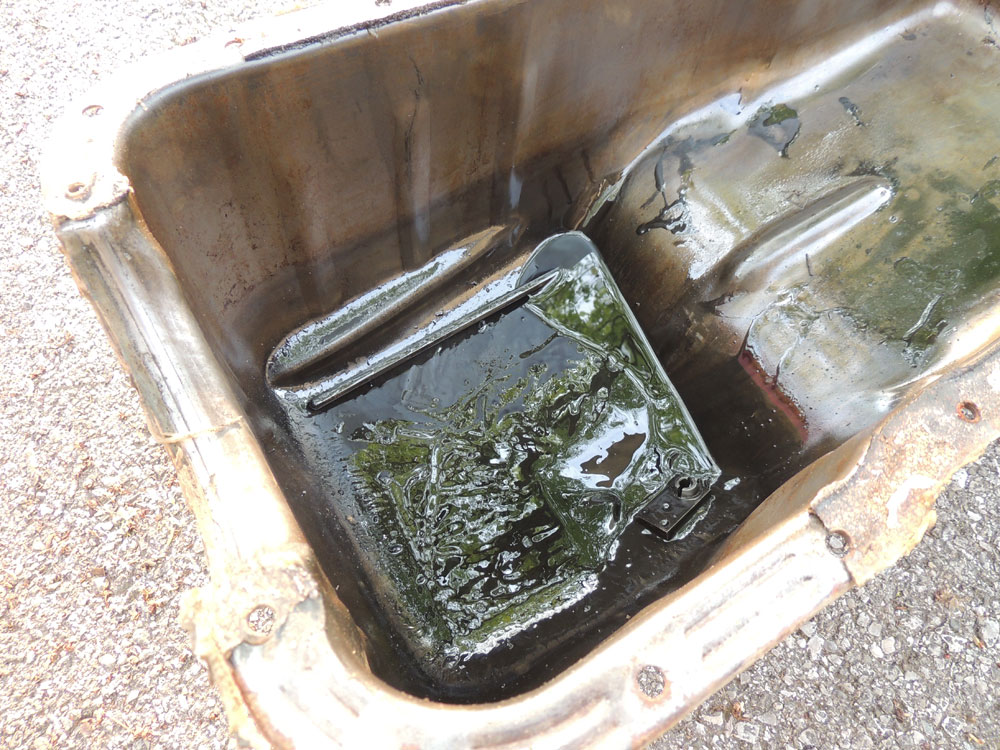
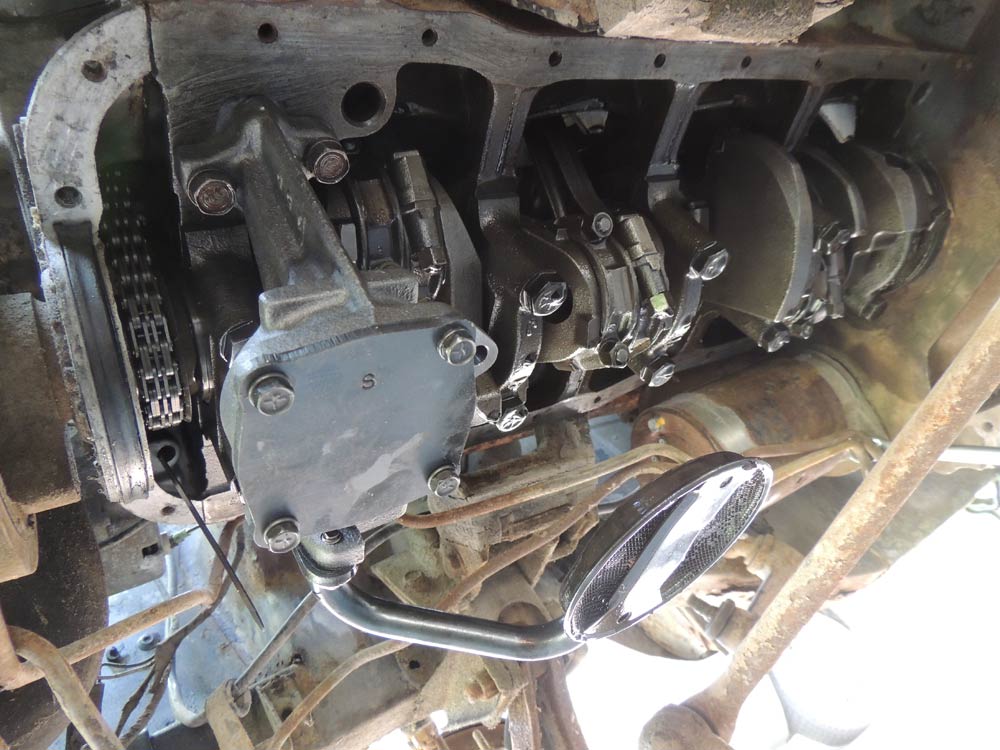
That would be the drive shaft in there. Since the pan is off, I figured I’d replace the oil pump, which was entirely undramatic. The pump is about $25, and on there with two bolts, although I was rather surprised to find that the bolts were 14mm. Not sure if this indicates that they’ve been replaced before or if this is normal for the car.
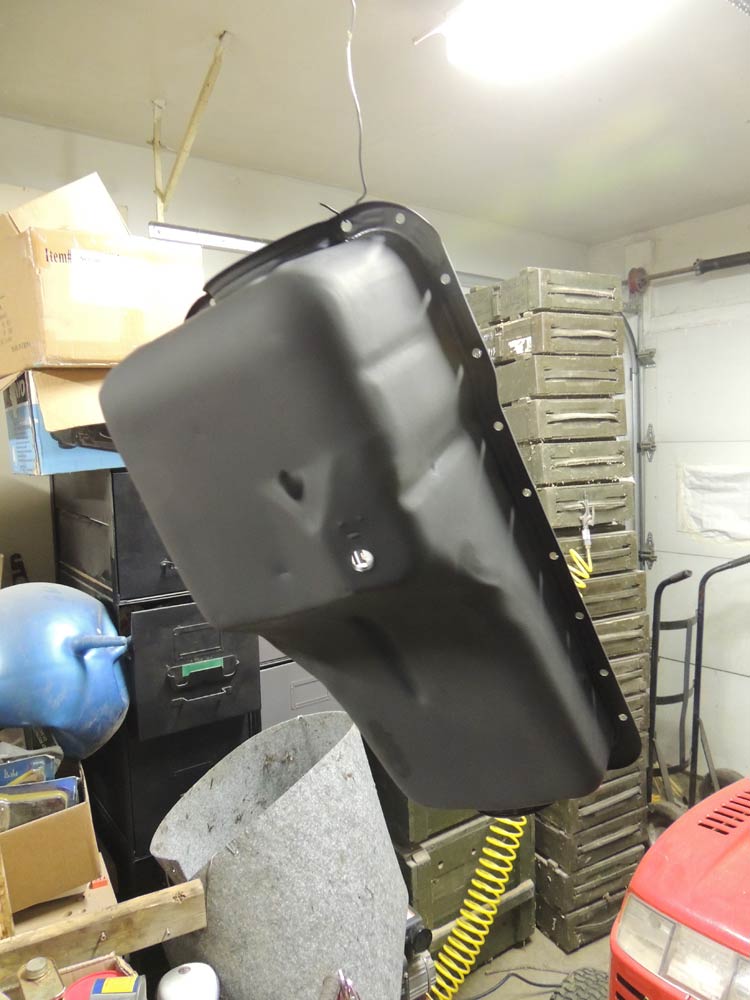
I hit the oil pan with a steel brush wheel in the drill press, and painted it. It is now possibly the best looking metal part on the entire car, which feels a little off, but I guess you’ve got to start somewhere. I also hit the bolts with the wire wheel, and gave them a coat of Rustoleum’s grill paint. It’s matte black, sticks to just about anything, including rusty surfaces. I have become quite a fan of it.
I had a few more minutes available, so I dropped in some new plugs and wires, and next up is reassembly and setting ignition timing.
Okay, we now have gas where it needs to go, new points, rotor, distributor cap, condenser and coil, and still nothing but back firing in the exhaust. I’m going to have to assume that the the distributor is just not timed correctly. I put the question to the vintage Mustang forum, and the conclusion there was the same. The distributor is likely 180 degrees out.
The distributor is conveniently place right at the front of the engine on the 289, so that’s nice. One single bolt holds it down, so removal appears easy. HOWEVER. One thing to really pay attention to here, and I’ll get to why in a minute, is the oil pump intermediate shaft. This goes from the oil pump, and up into the distributor. What makes it fun is that when you lift out the distributor, the shaft sometimes sticks and follows the distributor up. This is no problem, as you can just put it back in its place. The problem occurs when it only follows up a little, and then comes loose, as it has two possible ways to go. One is right back down to the oil pump where it came from, and the other is all the way down into the oil pan. You can guess where mine went.
Several people have mentioned that you could actually leave the shaft in the oil pan, and just buy a new one, as they’re $8 or so, and it’ll just lay there in the bottom of the pan until you decide to take it out, but I can’t say I feel comfortable with a stick of steel shaking around in there, and it wouldn’t hurt to pull the oil pan anyway.
So, next up, pulling the oil pan.
Now that the fuel pump is up to speed, the next wea
k link is the carburetor. It looks awful and appears to be putting fuels everywhere except where it’s supposed to. This car has the original two-barrel Autolite 2100, and the rebuild kits are available at the usual suspects, for just about
$10, which includes the needle valve and seven gazillion gaskets, which is absurdly cheap. This thing needed cleaned in the worst way. The acceleration jets were both clogged, and so was the fuel filter. There’s rust everywhere, and if I could reproduce the process for making the gaskets and membranes this crispy, I could probably sell it to a fast food chain for a billion dollars.
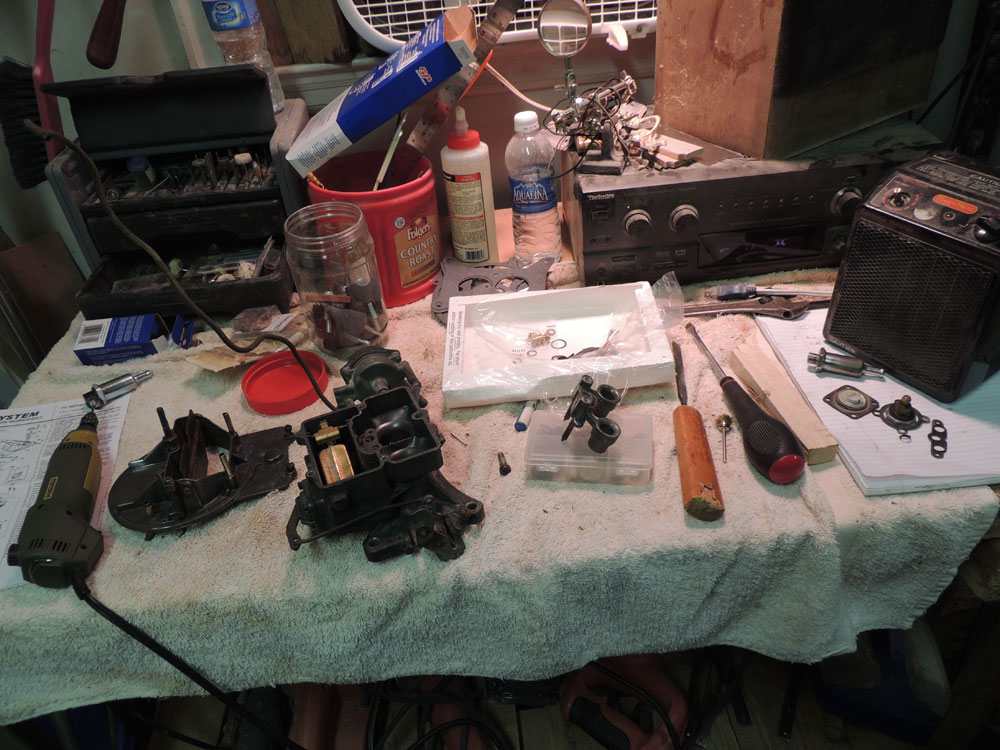
Quite a pleasant evening project, actually, and as easy as it could be to put the rebuild kit in, with only one gasket needing minor fitting, and that’s coming from someone who has never rebuilt a carburetor before. After reassembly (and getting a new fire extinguisher), it now fills up to where it should, and the jets work as they should. Still nothing but backfiring in the exhaust, so we’re back to ignition.
The engine turns over, but that’s all it does. Pulling the air filter of shows no indication of gasoline in the carburetor, and removing the outgoing pipe from the fuel pump and cranking it proves that the fuel pump is bad. A few years ago, we had to replace the fuel pump in our -94 Oldsmobile. The pump itself was, if I remember correctly, over $200, and replacing it required dropping the exhaust system, taking the fuel tank out and putting the pump in from the top. It took myself and my father-in-law a good four-to six hours. On the Mustang, the pump was $21.95, and it took all of 15 minutes to replace it. This made me happy. Fuel is now going to the carburetor, and leaking all over, but there is still no ignition.
The old standby of spraying starting gas into the carburetor, to bypass any clogs in the system, and taking out the option of the gas being bad, makes for no improvement, so I feel it’s safe to assume that there’s no good spark. Pulling a plug appears to prove this, so I will start replacing ignition parts. First up rotor, points and condenser, as they’re the cheapest parts and easiest to install. Something I thought was neat is that the box that the points arrive in, is the same thickness as the correct points gap. These three in place, however, made no improvement, so I also added a new coil and suddenly I had backfiring in the exhaust. Excitement!
Turning the distributor around and cranking again made for more backfiring in the exhaust, and one backfire into the carburetor, which was unfortunate, as the engine was covered in gasoline, which promptly caught fire. A quick hit with the fire extinguisher took care of that, and increased the need for cleaning the engine a little, but not much.
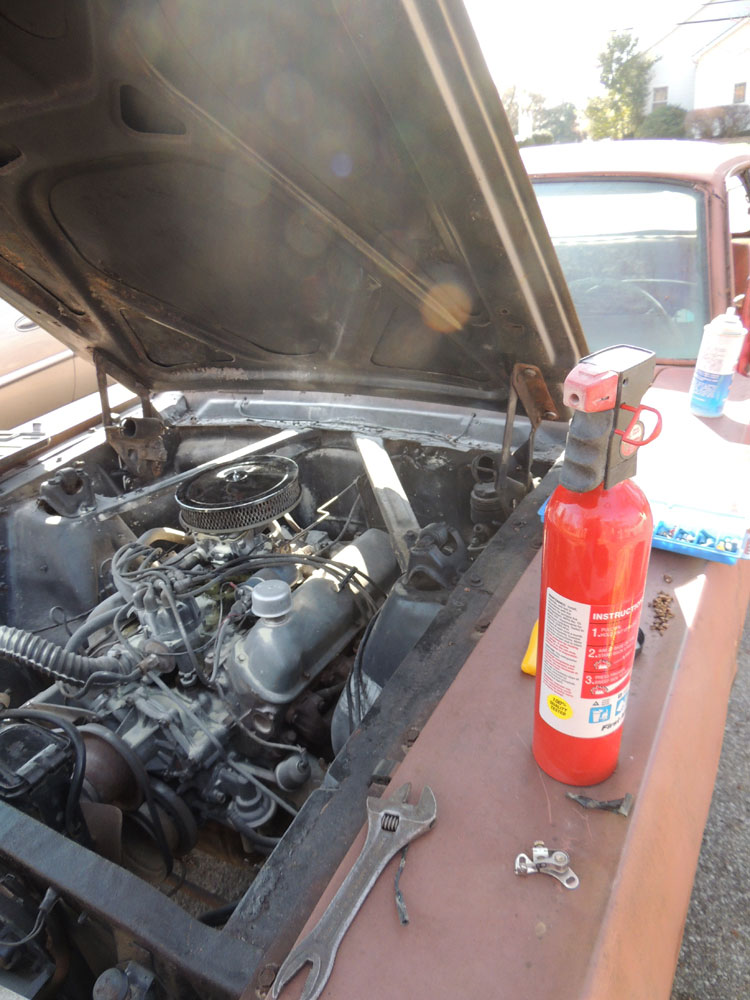
New rule: No further cranking of the engine until the fire extinguisher has been replaced.
Until that is done, I’ll focus on the carburetor, and preventing it from leaking gasoline all over the engine.
There are really only four things wrong with this car. It doesn’t run, in doesn’t stop, most of the secondary systems are out, and it’s ugly. I think perhaps the correct order to attack is stop, drive, secondaries, looks, but I’m going to be mixing a little. Primary focus will be to get it running, mainly due to the fact that I can’t stand it that I haven’t had a chance to listen to it yet. Second is brakes, which appears to be straightforward, as one of the wheel cylinders are leaking as if if wasn’t there. Then secondary systems, such as lights and horn and heat and what have you. The ugly will be ongoing and on the side, and probably plenty after everything else is done as well. I want to remove rust and seal things up again as soon as possible, but I haven’t really made up my mind on a color yet, so I’m just going to rattle can things as I go along, and aim for a full respray later on down the line.